Real Estate Website Redesign Checklist That Protects SEO
The most expensive mistake a real estate firm can make is to redesign a website that was already working. The second most expensive is to redesign a broken one without knowing why it was broken. I have audited enough post-launch real estate sites to know the pattern: rankings drop, listing URLs return 404s for weeks, the lead form is somehow worse than the one it replaced, and a partner is asking why the new site is slower than the old one on a mobile phone at an open house. None of this is unavoidable. All of it is what happens when a redesign is treated as a visual project instead of a technical migration with a visual layer on top.
I run DignuzDesign, a studio that builds custom websites for real estate companies, property developers, and architects on stacks like Astro, Webflow, Svelte, and Cloudflare. I have rebuilt sites for boutique agencies with twenty listings and developer portals with thousands. Sitting next to that work is Faraday3D, where I produce the renders, walkthroughs, and virtual tours that fill those websites with content nobody else has. That combination forces a particular discipline onto redesign projects: every decision about layout, URL structure, and image handling has to survive the actual content the site is going to host, not the placeholder lorem ipsum a designer is showing in Figma.
This checklist is the one I use on every real estate redesign I run. It is not a generic "thirty things to remember" list. It is an argument about where redesigns actually fail and how to protect the parts of your site that earn money.
Why Most Real Estate Website Redesigns Underperform
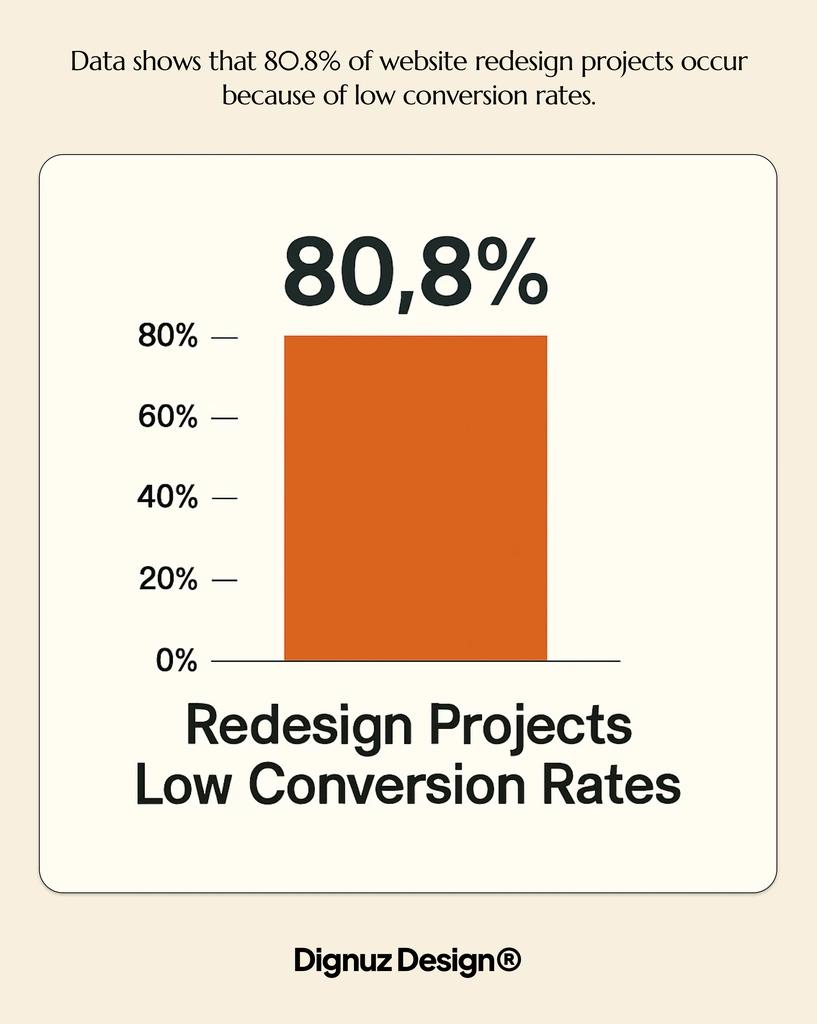
The standard real estate redesign starts with a partner or marketing lead who has decided the current website "looks dated." A designer is briefed, mockups are approved, the agency rebuilds the site, and it launches three months late. Six weeks after launch, organic traffic is down, the property pages that used to rank no longer rank, and the new lead form converts worse than the old one. Everyone agrees the new site looks better. That fact does not pay the mortgage on the office.
The reason this keeps happening is that "looks dated" is almost never the actual problem. The actual problems are usually a combination of slow mobile performance, a property listing structure that buries the units a buyer wants to see, a content footprint that has accumulated SEO equity nobody has mapped, and a lead path that loses the visitor between the property detail page and the contact form. A visual redesign that ignores all four ships a prettier version of the same business problem.
The home buyer's behavior makes this stakes higher than most marketing channels. The National Association of Realtors Profile of Home Buyers and Sellers reports that essentially every buyer uses the internet in their search and that the majority begin online before contacting an agent. If your site is the first impression for the people who will eventually transact, treating its rebuild as a cosmetic exercise is a category error.
Step One: Diagnose the Site You Have Before You Redesign It
Before any design work begins, the existing site needs a full diagnostic. Not a vibe check. A specific, evidence-backed read of what is actually working and what is not. Skip this step and the redesign brief becomes "make it look modern," which is not a brief any honest designer can deliver against.
The diagnostic I run covers four layers. The first is organic search performance: which pages bring traffic, which keywords each page ranks for, which queries convert to enquiry, and where the seasonal patterns sit. The second is on-site behavior: where users actually go, where they drop off, which property detail pages get viewed and which never see daylight. The third is technical health: Core Web Vitals on mobile, broken internal links, image weights, third-party scripts that have crept in over years. The fourth is conversion: every distinct lead path, the form completion rate of each, and the phone or email volume each page actually generates.
The output is a list of pages and behaviors that must survive the redesign untouched, a list of things that need fixing, and a separate list of things that can be removed entirely. The redesign brief then writes itself. There is more detail in the way I structure these audits in my piece on improving websites without rebuilding them, which is worth reading before you decide a full redesign is even the right intervention.
Step Two: Protect the SEO Equity You Already Have
This is the section most real estate redesigns get catastrophically wrong, and it is the one I care about most. A real estate website is not a brochure. It is an archive. A site that has been live for five years has accumulated ranking power on dozens, sometimes hundreds of URLs. Listing pages, neighborhood guides, agent biographies, blog posts that pull in long-tail buyer queries. That ranking power was paid for in time, content, and links over years. A redesign that ignores it can wipe out a year's worth of marketing investment in a single launch weekend.
The discipline is simple to describe and unglamorous to execute. Every URL on the old site has to be mapped to either an equivalent URL on the new site or a deliberate decision to remove it. Where URLs change, server-side 301 redirects need to be in place from launch day. Google's official guidance on site moves with URL changes is unambiguous on this point: permanent redirects preserve the ranking signals you have built, and they need to stay in place for the long term, not be turned off after a few weeks. I keep redirect rules in production for at least a year on every migration and longer where the old URLs still receive any organic traffic.
The work that needs to happen before launch includes a full URL inventory pulled from Search Console, analytics, and the live sitemap, a mapping spreadsheet that pairs each old URL to its new destination, redirect rules implemented at the edge or server level and tested before DNS cutover, preservation of canonical metadata where the underlying content is genuinely the same page in a new template, and a fresh XML sitemap submitted on launch day so crawl discovery is not left to chance.
What I refuse to ship is a redesign where the listing URL structure changes for cosmetic reasons. Real estate listing URLs are some of the most stable signals a property site has. Changing them because a developer prefers a different slug pattern is a sentimental choice that costs measurable traffic. If the old structure works, the new structure should match it.
Step Three: Treat Property Listings as the Product, Not a Page Template
The single largest difference between a real estate redesign and a generic business redesign is the role of property listings. On a typical agency website, listings are the product. They are what buyers come for, what Google indexes, what social posts link to, what email campaigns drive traffic to. A redesign that treats them as one of many page templates, designed last and inherited from a generic CMS, is starting the project upside down.
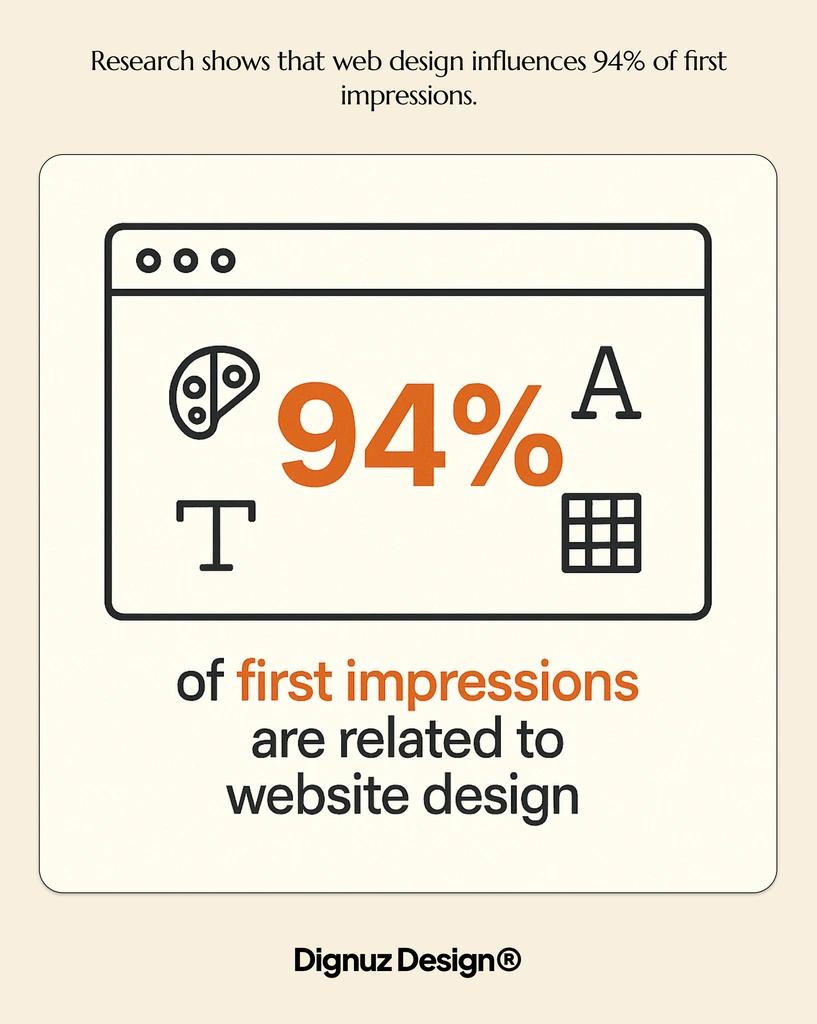
The listing template needs to be designed first and built around how a serious buyer actually reads a property. The NAR research is clear that photos, detailed property information, and floor plans are the most valuable items buyers look for on listing pages. Anything that pushes those down the page in favor of a hero banner with the agent's smile is design fighting against the user.
The questions I work through with clients on listing template design are concrete. Where do the photos live and how heavy are they in kilobytes? Can the buyer get to a floor plan inside one click? Where does an interactive 3D tour or virtual walkthrough sit on the page so it does not block the photo gallery? How does the page behave on a phone held in portrait at slow mobile data speeds, which is genuinely how most listings get viewed? Is the contact CTA visible without scrolling, and does it pre-fill the property reference when clicked?
This is the layer where AmplyViewer earns its place: an interactive 3D viewer embedded into the property page so a buyer can explore a unit in three dimensions without leaving the listing. For developments still in planning or under construction, where photography is literally impossible, this is the only realistic way to give a buyer the kind of detail they would get from a finished property. The general principles around getting this template right are something I have laid out in more depth in property listing design best practices.
Step Four: Make Performance a Functional Requirement, Not an Afterthought
Real estate websites are unusually heavy. They carry large image galleries, sometimes hundreds per listing, embedded map widgets, virtual tour iframes, MLS feeds, and third-party chat or scheduling tools. Every one of those has a performance cost, and on mobile that cost compounds. A redesign that does not set explicit performance targets at the start ships a slower site than the one it replaced, which is one of the most demoralizing outcomes a project can produce.
I write performance targets into the brief alongside design requirements. Largest Contentful Paint under 2.5 seconds on mobile. Cumulative Layout Shift under 0.1. Interaction to Next Paint inside the green threshold. These are not arbitrary. They are the thresholds in Google's Core Web Vitals documentation, and they map to real conversion behavior, not just rankings. The conversion sensitivity matters more than the ranking signal: buyers leave slow property pages before the photos even load.
The architectural choices that make these targets achievable are not the choices most agencies make by default. On real estate projects I default to a static or hybrid-rendered architecture, Astro for builds where editorial flexibility is needed, Webflow where the client team needs to manage marketing pages themselves, and Cloudflare for image delivery and edge caching. The reasoning behind that stack and the reasons I avoid heavier alternatives are something I have written about in detail in Jamstack for property developer websites and in the practical guide to real estate website speed optimization.
The point is not the specific technology choice. The point is that performance has to be a constraint design works inside, not a metric measured after launch when the site is already shipped.
Step Five: Plan the Visual Content Workflow Before You Need It
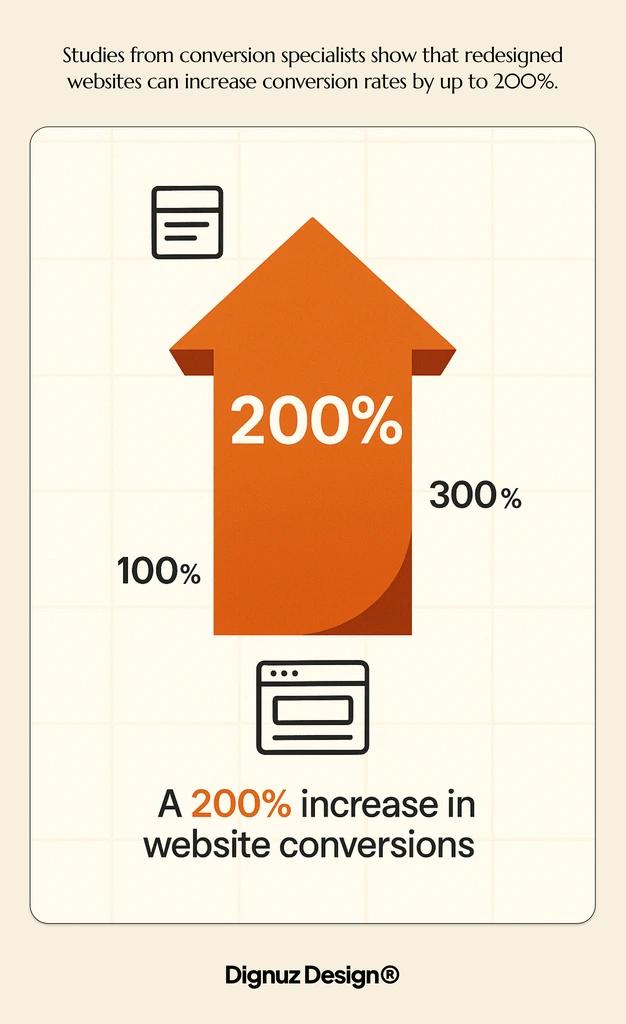
Real estate sells on visuals. Listings without good photography do not perform, regardless of how well the rest of the site is built. A redesign that does not plan the content workflow ends up with a beautifully designed shell filled with the same tired imagery the old site had, because nobody scheduled new shoots, nobody briefed the renders, and nobody owns the asset library.
The questions to answer before design is finalized are practical. Who is shooting photography for new listings, and at what cadence? What size and aspect ratio does the template expect, and does that match what your photographer delivers? For off-plan developments, who is producing the renders and walkthroughs that stand in for non-existent photography? How does new content get into the CMS, and is there a defined approval step before it goes live?
On my own developer clients I structure this around Faraday3D's render production schedule so that as planning phases advance, the visual assets on the site advance with them. The site becomes a living artifact of where the development is, not a static brochure that misrepresents the project. The thinking behind this is captured in more depth in my piece on immersive 3D real estate experiences that move sales forward, which is worth reading for anyone considering how interactive content fits into a redesign rather than being bolted on later.
Step Six: Design the Lead Path, Not Just the Navigation
Most real estate redesigns over-invest in the homepage and under-invest in the path between a property detail page and a completed enquiry. That path is where the money is. A homepage might earn the first click. The contact form has to earn the last one. Anything broken between those two points is leaking pipeline daily.
The redesign brief should specify every distinct lead path the site supports and how each is measured. A general enquiry from the contact page is one. A property-specific enquiry from a listing is another, and it should pre-populate the property reference so the agent receiving the lead does not have to ask which unit the buyer meant. A viewing request, a brochure download, a callback request, and an agent-direct contact are all separate paths with separate completion expectations. Treating them as one form on a contact page wastes the specific intent each path represents.
The deeper UX thinking behind why this matters is something I cover in real estate website user experience, and the actual conversion mechanics in real estate web page design for conversion. The redesign is the moment to put these in place properly, because retrofitting them afterwards is significantly more expensive than building them in from the start.
Step Seven: The Pre-Launch and Post-Launch Checklist
This is the only mechanical checklist I will use in the article, because at the launch moment a list of concrete checks is genuinely what is needed:
- Final URL mapping and redirect tests pass on a staging environment that matches production. Every old URL should resolve to its intended new destination with a 301 response code, verified at the server level rather than only in a browser, and any chain longer than one hop should be flattened before launch.
- XML sitemap is regenerated and submitted to Search Console on launch day. Crawl discovery should not be left to passive recrawling; a fresh sitemap submission and a Change of Address request where the domain itself is moving tells Google to prioritize the new site.
- Core Web Vitals are measured on real production URLs with real images loaded, not on a development environment with placeholders. The gap between staging and production performance is where most missed targets hide, and the only honest measurement is on the live site under real conditions.
- Every lead form is submitted manually before traffic switches over. Each form should hit the right inbox, fire the right CRM webhook, and confirm with the right thank-you page, because broken lead capture for forty-eight hours after launch is the kind of mistake that costs a quarter's pipeline.
- Analytics and search tracking are verified pre-launch, not configured post-launch. Google Analytics, Search Console, and any heatmap or session-recording tool should be in place and recording before the new site sees public traffic, otherwise the baseline you need for measuring redesign impact is permanently lost.
- A rollback plan exists and has been tested. If something goes badly wrong in the first twenty-four hours, the team should know exactly how to point DNS back at the old site, restore old content, and inform stakeholders without improvising under pressure.
The post-launch period that matters most is the first ninety days. Search Console should be checked weekly, not monthly, for indexing errors and lost coverage. Rankings on the pages that were ranking before need active monitoring, and any unexpected drop needs investigation, not patience. Lead form submission volume should be compared like-for-like against the same period before launch. If something has regressed, the redesign needs adjustment, not a reassuring story about "needing time to settle." More general guidance on the launch moment is something I have laid out in the essential website launch checklist, which complements the redesign-specific work above.
What I No Longer Argue About With Clients
There are a handful of decisions that used to be debates on every project I ran. They are no longer, because the evidence from each completed project has been so one-directional that I now treat them as defaults rather than discussion points.
The first is that the website should not be built on a generic theme. The reasons are technical, structural, and brand-related, and I have written them out in why custom real estate websites outperform template solutions. The compressed version is that templates make decisions that fight your specific listings, your specific lead paths, and your specific market positioning, and undoing those decisions costs more than building it right from the start.
The second is that mobile is the primary design canvas, not the responsive variant. Most property browsing now happens on phones, and a site designed desktop-first with mobile as an adaptation will always feel like an afterthought on the device where the buyer actually is. Design starts on the phone screen, and the desktop layout is the wider variant.
The third is that visual content production is part of the project, not separate from it. Treating renders, photography, and tour content as something that happens after the site is built guarantees a site filled with placeholder imagery for the first month of its life, which is also the month it is being judged by everyone who sees the launch announcement. Visual content is on the project plan from day one.
Frequently Asked Questions About Real Estate Website Redesigns
How long should a real estate website redesign actually take?
For a focused agency or developer site, eight to twelve weeks is realistic from a signed brief to launch, assuming the diagnostic work has already been done and the content inventory is clean. Projects that drag past sixteen weeks are usually projects where scope was never decided, not projects where the work is genuinely larger. The first two weeks should be diagnostic and SEO mapping work, not design exploration.
Will I lose Google rankings during a real estate website redesign?
If URLs are preserved or properly redirected, content parity is maintained on the pages that previously ranked, and Core Web Vitals improve rather than regress, there is no structural reason for rankings to drop. Short-term volatility in the first four to six weeks after launch is normal as Google reprocesses the site. Sustained drops past that point indicate a specific problem, usually a redirect gap, a content thinning, or a performance regression, and they should be diagnosed and fixed rather than waited out.
Should I keep my existing CMS or switch during a redesign?
This depends on whether the existing CMS is the source of pain. If the editorial team cannot publish a listing without engineering help, or if the platform forces page-builder bloat that wrecks performance, the redesign is the moment to switch. If the CMS works fine and the team is fluent in it, switching adds risk and migration cost for marginal benefit. The redesign should serve the team that has to operate the site for the next five years, not the agency building it for the next three months.
How much should a real estate firm budget for a redesign?
For a boutique agency with a modest content footprint, a credible redesign starts in the low five figures. For a developer portal with thousands of listing URLs, integrated CRM, multilingual support, and 3D tour delivery, the number can be several times that. The variable that drives cost is not visual complexity. It is the integration surface: how many systems the site has to talk to, how much content has to be migrated, how much of the lead path is custom. Treat any agency quoting a flat price without understanding the integration surface with caution.
Do I need a separate launch checklist for a redesign versus a new site?
Yes, because the failure modes are different. A new site has no SEO equity to protect, no existing URLs to preserve, and no existing lead paths to compare against. A redesign has all three. The redesign launch checklist needs to cover URL mapping, redirect testing, search visibility monitoring, and like-for-like comparison of conversion volume in a way a new-site checklist does not.
How do I know if my real estate website even needs a redesign?
The honest answer is that most sites that "look dated" need targeted improvements, not a full rebuild. If mobile performance is poor, if the listing template is wrong, if the lead path is leaking, fix those specifically. If the site is on a platform that genuinely blocks the work, or if the content architecture cannot support how the business has evolved, then a redesign is justified. Start with the diagnostic in Step One. Let the evidence decide.

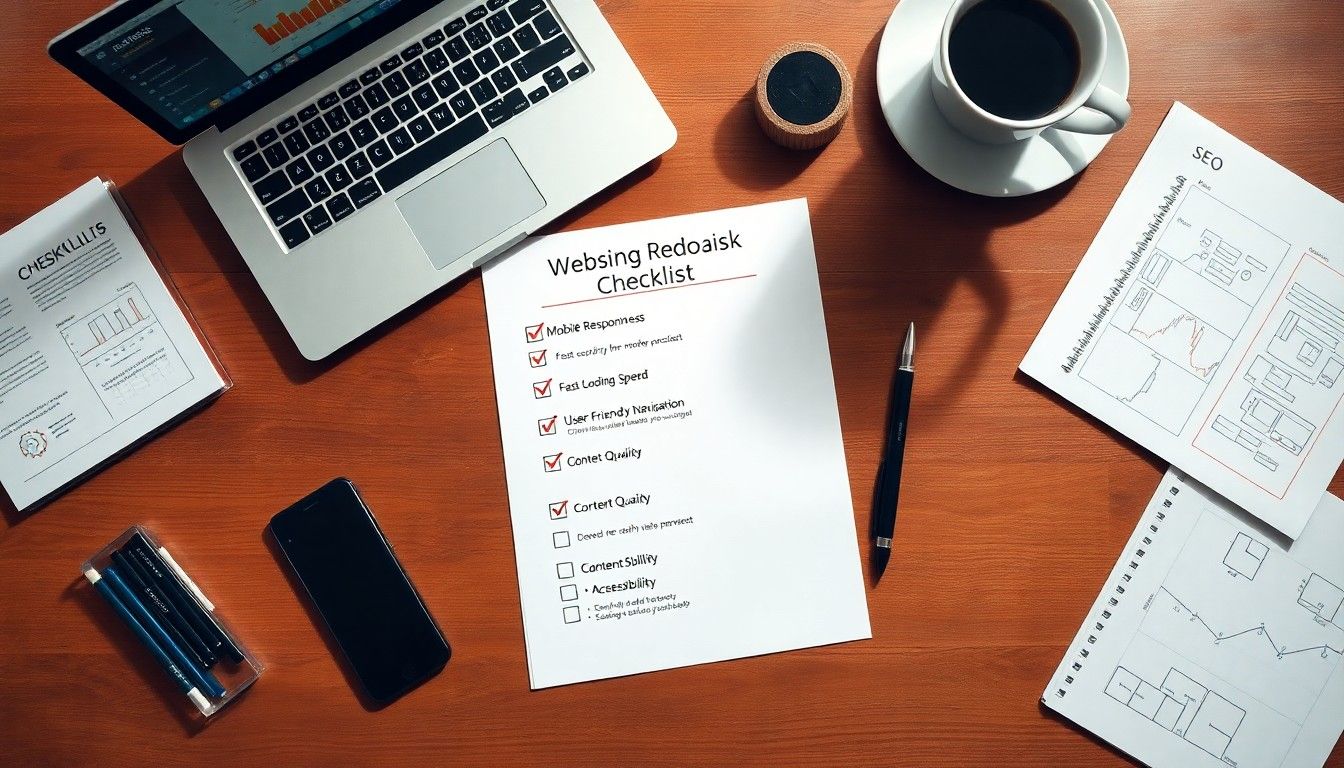
✅ Website Redesign Checklist for Better UX and SEO
🧭 Pre-Redesign Planning
Website Audit
☐ Analyze user behavior (bounce rates, exit pages, navigation paths)
☐ Measure technical performance (PageSpeed Insights, load time)
☐ Audit content for engagement, accuracy, and effectiveness
☐ Document high-performing vs. low-performing pages
Set Redesign Goals & KPIs
☐ Define measurable goals (e.g., double property inquiries, reduce bounce rate)
☐ Document KPIs: session duration, conversion %, organic traffic, page speed
☐ Align KPIs with business outcomes
Budget Planning
☐ Set a realistic budget aligned with redesign goals
☐ Prioritize features with the highest ROI (e.g., property filters, virtual tours)
☐ Explore platforms like Webflow for cost-effective customization
👥 User Experience Strategy
User Journey Mapping
☐ Define key user types (buyer, investor, seller)
☐ Map pain points and emotional needs by stage (awareness to retention)
☐ Plan solutions: smart search filters, rich property detail pages, saved searches
Mobile Optimization
☐ Design mobile-first with touch-friendly elements
☐ Optimize fonts, buttons, and image loading for smartphones
☐ Ensure all property listings and galleries perform well on mobile
Accessibility Compliance (WCAG)
☐ Implement proper color contrast and keyboard navigation
☐ Add alt text to images and ARIA labels where needed
☐ Structure content using semantic HTML and logical heading levels
🔍 SEO Preservation & Improvement
SEO Inventory
☐ Document current rankings, top-performing pages, keywords, backlinks
☐ Audit metadata, headers, image alt text
URL Structure & Redirects
☐ Preserve existing URLs where possible
☐ Create a 301 redirect map for changed URLs
☐ Avoid broken links and 404 errors during transition
Content Migration Plan
☐ Identify high-value content to preserve and enhance
☐ Migrate metadata, structured data, and internal links
☐ Rewrite or remove underperforming content
☐ Use local SEO strategies in listings and neighborhood pages
Metadata & Schema
☐ Preserve and enhance title tags and meta descriptions
☐ Optimize H1–H6 headers with keywords
☐ Add or update schema (e.g., properties, agents, reviews)
☐ Ensure all image alt text is relevant and descriptive
⚙️ Technical & Platform Requirements
Platform Evaluation
☐ Assess CMS usability, flexibility, and maintenance costs
☐ Choose a platform that supports property listings, media galleries, and CRM integration
☐ Ensure scalability for future needs
Performance Optimization
☐ Set target load time: under 2s desktop, under 3s mobile
☐ Use modern formats (WebP), lazy loading, and minified code
☐ Enable caching and reduce third-party scripts
Security Best Practices
☐ Ensure HTTPS/SSL is active across the site
☐ Use secure hosting and update policies
☐ Plan for regular backups and monthly security scans
🧠 Content Strategy
Content Audit & Mapping
☐ Inventory all existing pages with metrics (traffic, engagement)
☐ Mark as keep, update, remove
☐ Identify content gaps and audience needs
☐ Prioritize listing descriptions, area guides, and market insights
Messaging Hierarchy
☐ Define primary, secondary, and tertiary messages per page
☐ Prioritize clarity of value proposition on home and property pages
☐ Align CTAs with user intent (e.g., contact agent, schedule visit)
Content Migration Timeline
☐ Decide manual vs. automated migration
☐ Assign tasks and deadlines
☐ Test for formatting issues, missing elements, broken links
🎨 Design & Branding
Visual Identity
☐ Confirm brand colors, fonts, and UI consistency
☐ Ensure professional, modern design with trust-building visuals
☐ Highlight listings with clean layouts and rich visuals
Media Optimization
☐ Use high-quality property photography
☐ Optimize all images (size, format, compression)
☐ Include virtual tours and 3D walkthroughs where possible
☐ Define video usage guidelines (agent intros, market updates)
🧪 Testing & Launch
Pre-Launch Testing
☐ Test all forms, buttons, and interactive features
☐ Check mobile responsiveness across devices
☐ Validate performance (load speed, script errors)
☐ Cross-browser test (Chrome, Safari, Edge, Firefox)
☐ Conduct stakeholder user acceptance testing (UAT)
Launch Day Protocol
☐ Assign team roles and finalize launch checklist
☐ Consider soft launch with internal users first
☐ Have rollback plan and backups ready
☐ Monitor live traffic, form submissions, and page errors
📈 Post-Launch Monitoring & Iteration
Analytics Setup
☐ Install Google Analytics and Search Console
☐ Track KPIs: inquiries, listing views, saved searches
☐ Add heatmaps or session recording for behavior insights
User Feedback Collection
☐ Launch feedback form or exit survey
☐ Monitor support channels for common issues
☐ Track feedback from agents and active users
Iteration Planning
☐ Review metrics monthly/quarterly
☐ Prioritize fixes and improvements based on ROI
☐ Document changes and evaluate impact over time