NestJS Performance Optimization: A Practitioner's Take

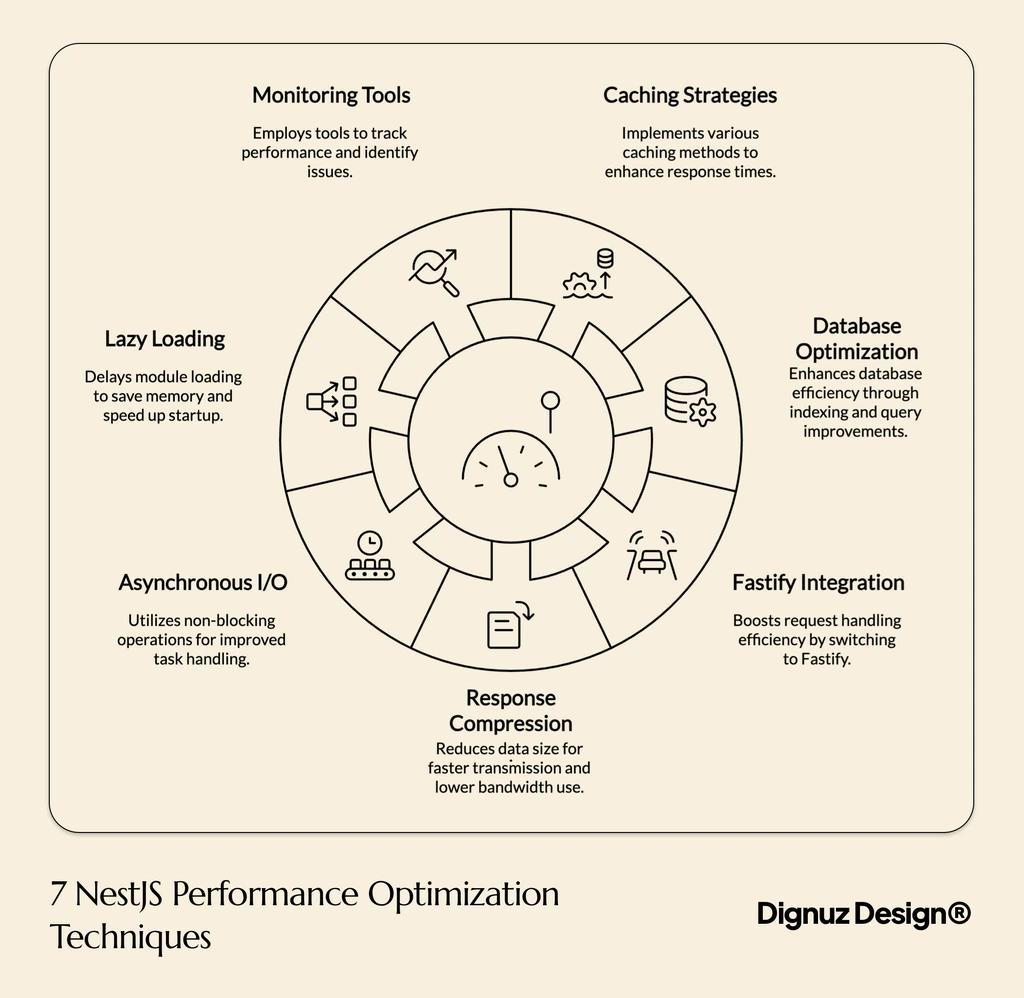
Every NestJS performance article I find says roughly the same seven things. Add caching. Swap Express for Fastify. Index your database. Compress responses. Use async patterns. Lazy-load your modules. Set up monitoring. All of it is correct in the way that documentation is correct, and almost none of it reflects where production NestJS applications actually lose time.
I am Dimitri, and I run DignuzDesign, a small studio that ships custom websites and web applications for real estate developers, architects and property marketing teams. On the backend side I reach for NestJS when a project genuinely needs the structure it offers, and I reach for something lighter when it does not. Over the last few years of shipping, what has surprised me is how rarely the seven textbook optimizations are the thing that moves the needle, and how often the real wins come from a small number of decisions made much earlier.
Here is what I actually see in the field.
The Question To Ask Before Any NestJS Optimization
The most impactful performance decision on a NestJS codebase is whether NestJS belongs there at all. That sounds dismissive, but I mean it literally. The generic guides assume you have committed to the framework and you are looking for percentages. In practice, the gap between a well-tuned NestJS service and a purpose-built Hono service on Cloudflare Workers is often not a few percent. It is a full order of magnitude, because one of them is running in a V8 isolate at the edge and the other is a full container somewhere in us-east.
For most of the backends I build for real estate clients, the hot path looks like this. A user requests a property listing page. The frontend, usually Astro, asks the backend for property data, a nearby schools lookup, and an availability check. None of that logic is particularly complex. None of it justifies a dependency injection container, a module graph, decorators, guards, interceptors and the bootstrap cost that comes with all of them.
So the first question I ask when a client says "the API is slow" is not "which interceptor should we add". It is "does this service need to be a NestJS service". I have compared NestJS and Next.js elsewhere, and the same argument applies here. NestJS earns its weight when you genuinely need the patterns it provides, specifically multi-team codebases, non-trivial domain logic with clear module boundaries, and systems where the cost of structure pays for itself over years. If you are shipping a CRUD API for a single team, you are paying framework cost for no return. Strip down to Hono or Fastify and move on.
I have written a broader argument for how to pick a backend framework in a way that accounts for team size, deployment target and project lifetime. That piece is the context for what follows. This one assumes you have decided NestJS is the right tool and you want to make it fast.
The Fastify Switch Is Real, Just Not For The Reason The Benchmarks Suggest
Every generic article repeats the claim that Fastify handles roughly 2.4 times more requests per second than Express. The number is real, it comes from the Fastify benchmarks page, and the official NestJS performance documentation actively recommends the Fastify adapter for throughput-sensitive workloads. If you are comparing hello-world endpoints on a synthetic load generator, you will reproduce the benchmark.
The problem is that real endpoints are not hello-world. On any endpoint that hits a database, an external API or a cache, the framework layer is a small fraction of total request time. I have swapped the adapter on real services and seen p50 latency move by two or three milliseconds on a request whose median spend is already ninety milliseconds of database work. That is a real improvement, but it is a rounding error compared to fixing one lazy-loaded TypeORM relation.
Where the Fastify adapter actually helps, in my experience, is tail latency under pressure. When the event loop gets busy, Fastify's router and JSON serializer do less work per request than Express's equivalents, which means your p99 degrades more gracefully when you are absorbing a burst. That is a different story from "2.4 times faster", and it is the story I would actually lead with.
So yes, switch. But switch because you want better tail behavior, not because you want the benchmark number. And do not switch if you depend on Express middleware that has no Fastify equivalent. Ripping out a working authentication stack to chase three milliseconds is not a performance win. It is a schedule cost dressed up as an optimization.
Your ORM Is Usually The Bottleneck, Not The Framework
On every NestJS project I have audited, the actual latency lives in the ORM, not in the framework. The generic articles treat database work as a bullet point under "use indexes". The reality is more uncomfortable.
TypeORM's lazy relations are the most common offender I see. A controller calls repository.findOne({ where: { id } }), then some code further down the stack accesses user.properties, which silently fires a second query. If that happens inside a .map() over a list of users, you now have an N+1 pattern that does not appear in any controller-level log. I have seen property listing endpoints that looked clean at the framework layer and executed forty-seven queries per request because the entity graph had three lazy relations that nobody consciously used.
Prisma makes a different tradeoff. It solves N+1 in relation queries by batching automatically, and Prisma's own benchmarks against other TypeScript ORMs show it competitive on most workloads. The price is a Rust query engine running as a separate process, and a connection pool that you have to tune explicitly for serverless deployments or you will starve it under concurrency. I have watched a Prisma-backed NestJS service time out under load because the default pool size was fine on a dev box and nowhere near enough once real traffic arrived.
The honest guidance I would give anyone asking about NestJS performance is this. Before you touch caching, before you swap HTTP adapters, before you compress responses, turn on your ORM's query logger in staging and look at what it actually runs for your three busiest endpoints. On three of my last four audits, the number of queries per request was wrong by a factor of five or more, and fixing it made every other optimization unnecessary.

Module Bootstrap Cost, And Why It Matters On Every Redeploy
Lazy loading of modules gets mentioned in every performance article as a nice-to-have. What the articles do not explain is where you actually pay the bootstrap cost. A long-running NestJS service on a warm container absorbs module initialization once per deploy and you never think about it again. The picture changes sharply in two situations that I run into regularly.
The first is any serverless deployment. AWS Lambda, Cloudflare Containers, Google Cloud Run with minimum instances set to zero, all of these cold-start your container when traffic arrives after a quiet period. NestJS has a larger startup footprint than a stripped-down Express or Fastify service because the dependency injection container has to walk the module graph, resolve providers and run the initialization hooks. I have measured cold starts of eight hundred to twelve hundred milliseconds on a realistic NestJS Lambda, which is long enough for users to notice.
The second is any environment with frequent redeploys. A CI pipeline that ships a few times a day, multiplied by a handful of containers behind a load balancer, means bootstrap time lands on someone's timeline constantly. If your module graph has grown to the point where it takes multiple seconds to initialize, your rolling deployments take longer and your load balancer sees more unhealthy instances during the window.
The fix is not always lazy loading, which the articles imply. Lazy loading helps when a subset of your modules is used rarely. For the common case of a service that uses most of what it imports, the actual fix is to audit what you import at all. Every unused provider in a feature module still gets resolved. Every heavy dependency in a helper that does not need it on the hot path inflates your startup time. I have trimmed NestJS bootstrap times by thirty to forty percent just by removing imports that were left over from a refactor two versions ago. No lazy loading required.
Measure The Right Thing, Not The Synthetic One
The monitoring bullet point in the generic article says to install an APM and watch the dashboards. Fine. But the articles rarely say what to actually measure, and the default dashboard for most APMs is misleading for this kind of work.
The metric that matters on the endpoints I ship is p99 latency under a realistic mix of request types, not p50 or average. A property listing endpoint that serves the median request in eighty milliseconds and the 99th in four seconds is a bad user experience even though the average looks healthy. That four-second tail is where the customer who opened the page and got a blank screen actually lives.
I watch three things in practice. First, p99 latency per endpoint, broken down by handler. If one handler drives your tail, fix it in isolation. Second, database query count per request, ideally surfaced as a histogram. The moment this drifts upward after a deploy, something has introduced an N+1 pattern. Third, event loop lag, exposed by Node's built-in perf_hooks. A sustained event loop lag above ten milliseconds means you have CPU-bound work sneaking onto the main thread, and no amount of framework tuning will fix that until you move the work off.
None of these three live on the default dashboard of the APMs the generic articles recommend. All of them can be surfaced with a small amount of custom instrumentation. This is the part of performance work that is not glamorous and that most guides skip entirely.

What I Actually Do For Real Estate Backends
Since this is what clients usually want to know by this point, here is what the services I build actually look like.
For any backend I start today on a real estate project, I default to a split architecture. The read path, meaning property listings, static lookups, filtered searches and anything cacheable, runs on Cloudflare Workers backed by D1 and R2. This is a different universe from a traditional NestJS service. A Worker cold starts in single-digit milliseconds because it runs in a V8 isolate, not a container. There is no framework bootstrap. There is no connection pool. The latency budget is dominated by whatever logic I write, not by the platform underneath it.
NestJS, when I use it, is reserved for the genuinely complex pieces. Booking flows with multi-step state. Integrations with third-party CRMs and MLS feeds that have their own session semantics. Anything where the dependency injection and module structure earns its weight because the domain logic is actually elaborate enough to benefit. On those services I run a Fastify adapter, Prisma with a tuned connection pool, and a single structured logger pushing to whichever APM the client already uses.
The architectural pattern is the one I describe in more detail in how Jamstack approaches apply to property developer websites. The principle is the same at the backend layer. Do as much as possible at the edge, where the platform is fast by default, and reserve the heavier framework for the places where it earns its cost.
FAQ
Is NestJS Slower Than Express Or Fastify?
NestJS is a layer on top of Express or Fastify, so the raw HTTP throughput matches whichever adapter you choose. The overhead NestJS adds is in request handling, because every request traverses the dependency injection pipeline, guards, interceptors and pipes. On a warm service that overhead is small, typically sub-millisecond per request. The bigger performance story with NestJS is bootstrap time, which is longer than a bare Express app because the module graph has to be resolved.
Should I Use The Fastify Adapter For Every NestJS Project?
No. Use it when you have a throughput-sensitive workload that will genuinely benefit, or when you care about tail latency under pressure. Do not use it if you depend on Express middleware that has no Fastify equivalent, because the integration cost outweighs the improvement. For most internal tools and low-traffic APIs, sticking with the default Express adapter is the correct call.
Is Prisma Or TypeORM Faster In NestJS?
It depends on the query shape. Prisma generally handles relation queries better because it batches automatically, avoiding the N+1 pattern that TypeORM's lazy relations can silently introduce. TypeORM can be faster for hand-tuned raw SQL because it has less abstraction overhead. In practice I default to Prisma on new NestJS projects because the type safety and predictable query behavior matter more to me than marginal raw speed.
How Do I Reduce NestJS Cold Starts On Lambda Or Cloud Run?
Three things help in order of impact. First, shrink your module graph by removing unused imports and moving heavy dependencies off the hot path. Second, bundle with a tool like esbuild or Webpack to reduce the number of files Node has to parse on startup. Third, for Lambda specifically, move the NestFactory.create call outside the handler so it persists across warm invocations. For services where cold start budget is genuinely tight, consider whether the service should be NestJS at all versus a Hono or Fastify service that boots in tens of milliseconds.
Does Response Compression Actually Matter On A Modern API?
It matters for JSON payloads over a few kilobytes served to clients on constrained networks. For small responses, compression adds CPU cost with little benefit. For large list endpoints, especially property listing pages that serialize dozens of records with nested data, enabling gzip or Brotli compression is an easy win. The honest version of this advice is to turn it on for large responses, leave it off for small ones, and measure which endpoints it actually affects before assuming.
The Summary I Would Give A Client
If you remember nothing else, remember this. The performance problems I actually fix on NestJS codebases are, in order of frequency, ORM query shape, module bootstrap cost, and architectural mismatch between NestJS and the workload it is handling. Caching, compression and the Fastify switch are all worth doing, but they are the last ten percent, not the first.
The biggest lever is the one the generic articles never mention. Choosing the right tool for each part of the system, and being honest when NestJS is overkill for a given service, is the optimization that changes the numbers. Everything else is refinement on top of that decision.
If you have a NestJS backend that is not performing the way you want on a real estate or property project, get in touch. I audit this kind of system regularly and I am happy to look at yours.